
How to Prepare Your Yard and Plan Hardscape Materials
A hardscape step can look finished and still become unstable if the ground beneath it shifts or water collects nearby. Preparing your yard for hardscape installation means assessing soil and slope, planning drainage away from steps, and compacting a properly graded base. For patios and walkways, plan for 9 inches of excavation to provide 6 inches of compacted base.
It’s easy to focus first on the pavers, concrete, or finished shape. But preparing your yard for hardscape installation starts with the ground below and the space around it: grading and a stable base help support the finished structure over time.
This guide explains how to assess the installation area, measure the paving surface, estimate paver quantities, and calculate bedding sand and base materials. Use these steps to plan the work, from initial site measurements to a stable foundation for your outdoor space.
Table of Contents
Estimating bedding sand and base materials
For a paver patio, gather compactable base aggregate, bedding sand, pavers, and edge restraints. You’ll also need tools such as a tape measure, stakes, string, shovel, level, and plate compactor to shape and compact the layers.
Calculate the paved area. Multiply the planned length by width, then include the installation allowance beyond the finished edge when estimating aggregate. A 10-by-20-foot patio covers 200 square feet before any extension. Keep the measured paving area separate from the excavation footprint so you don’t confuse material quantities.
Estimate the pavers. Divide the area by the coverage of one paver, using its actual dimensions and joint spacing. For a 10-by-20-foot patio with 4-by-8-inch pavers, the example quantity is 920 pavers. Add 5 percent for cuts and spares, then confirm the final count against the chosen layout.
Work out bedding sand. Plan a 1-inch bedding layer above the compacted base. For the 10-by-20-foot example, the estimated concrete sand quantity is 1.25 tons. Keep the layer even; sand helps seat the pavers but does not replace a stable aggregate foundation.
Calculate base aggregate. For patios and walkways, the material calculation uses a 4- to 6-inch base depth. A separate excavation example recommends 9 inches deep to provide 6 inches of compacted base. A 10-by-20-foot paved area with a 6-inch base and 6-inch edge extension requires 9 tons of base material.
Allow for compaction and compatibility. Add a 25 percent allowance for compaction when estimating materials. Match the paver format to the edge restraint and planned pattern; curved borders and frequent cuts affect the final count. Test a small section of the selected materials before full installation to see how they handle weather, foot traffic, and wear.
Stage delivery and lay the layers. Arrange delivery so sand and aggregate can be placed near the work without blocking access. Spread aggregate in 2-3-inch increments and compact each layer thoroughly. Screed the 1-inch sand bed, place pavers in the planned pattern, and secure the edges to help hold the layout.
Assessing the installation space
Before excavation, assess the layout, underground conditions, soil, and drainage. These checks can reveal site issues early, while there’s still time to adjust the design.
Plan and Mark the Hardscape LayoutMark the proposed patio, walkway, or steps with stakes and string. Measure each side, then compare the footprint with doors, gates, existing paths, and property boundaries. Mark the planned finished elevations at the house and outer edge, making sure the surface will direct water away from the building. Review local building codes and HOA rules before finalizing features such as retaining walls. Don’t rely on a sketch alone: confirm that the marked layout fits the yard.
Locate Underground UtilitiesCall 811 before digging so underground utilities can be marked on the project property. Keep the marks visible, and plan excavation around marked lines rather than assuming utility routes follow walls or fences. Include irrigation pipes and low-voltage landscape wiring in the site review, since they may not appear with other utility markings. Record sprinkler heads and valve locations before work begins. Digging without locating services risks damaging buried lines and disrupting the planned installation.
Test and Prepare the SoilInspect the exposed soil for soft, wet, loose, or uneven areas, and note how it responds to compaction. Clay-heavy soil can hold water, while loose soil may need more careful preparation to support a firm base. Remove sod, roots, and unsuitable material within the footprint. Mark clear work boundaries to protect nearby plants and irrigation. Grade and compact the ground evenly; placing a base over soft spots can contribute to shifting pavers or patio surfaces.
Address Drainage and SlopeCheck how rainwater moves across the yard and where it collects near the house or steps. Grade the installation area so water flows away from the building, not toward doors, foundations, or neighboring areas. Compacted soil and a clear drainage route help limit pooling. Permeable pavers, small channels, or gravel beds can help manage runoff around steps. Consider local rainfall and soil drainage when choosing an approach. Even a surface that looks flat can direct water poorly, so assess the entire runoff route.

How do you plan and mark hardscape layout, dimensions, and elevations?
Set the finished footprint before excavation, then mark the design clearly on the ground. Treat each boundary, transition, and elevation as part of one coordinated plan.
Choose the hardscape’s purpose. Mark where people will enter, sit, walk, or climb steps. For example, leave a direct route between a patio and the house entrance, and keep the planned path clear of gates and existing access points.
Map fixed features. Sketch the house, fence lines, trees, drains, and existing paths before drawing the new footprint. Use these landmarks to spot conflicts early, such as a patio edge crossing a gate swing or a walkway narrowing beside a planting bed.
Set finished dimensions. Measure the proposed length and width, then transfer the corners to the ground with stakes and string. Check both diagonals for a rectangular layout; matching diagonal measurements help show whether the corners form a square.
Mark the excavation boundary separately. Keep the finished edge distinct from the dig line, especially where pavers meet lawn or a wall. For patios and walkways, the excavation area is planned approximately 6 inches beyond the finished project size on each side, allowing room for the construction footprint.
Establish elevations and transitions. Mark the intended finished height at the house, steps, doors, and outer edge. Check how the proposed surface connects with existing concrete, thresholds, and paths; a sudden height change can affect access and the flow of water.
Coordinate the edge restraint. Show the compacted aggregate boundary and restraint position on the layout before excavation. The recommended placement puts the paver edge restraint 6 inches from the edge of the compacted aggregate. Confirm that this position fits the planned paver edge and adjoining lawn or planting area.
Review the marked plan. Walk the full outline and compare it with the sketch before work starts. Look for obstructed routes, awkward corners, and elevations that conflict with doors or steps. Adjust the stakes and string now, rather than cutting finished materials to correct a layout error.
Do you need permits or HOA approval for patios, retaining walls, or walkways?
Approval requirements depend on the project, property location, and community rules. Identify public requirements separately from private HOA review before scheduling excavation or material delivery.
Describe the complete project. Write down whether the plan includes a patio, walkway, retaining wall, steps, grading changes, or new drainage features. Include a simple site sketch with the location and dimensions of each element. A walkway alone may raise different review questions than a plan that also changes yard elevations or redirects runoff.
Ask the local building department about permits. Provide the project description and sketch, then ask which local approvals apply to the proposed work. Be specific about retaining walls, changes to grade, concrete features, and drainage routes. Request the applicable application steps and required plan details before choosing a construction date.
Review HOA documents separately. Check the community’s architectural or exterior-change process for patios, walls, paths, materials, colors, and placement. An HOA review is separate from a permit review, so one approval does not replace the other. Keep the written decision with the project plan.
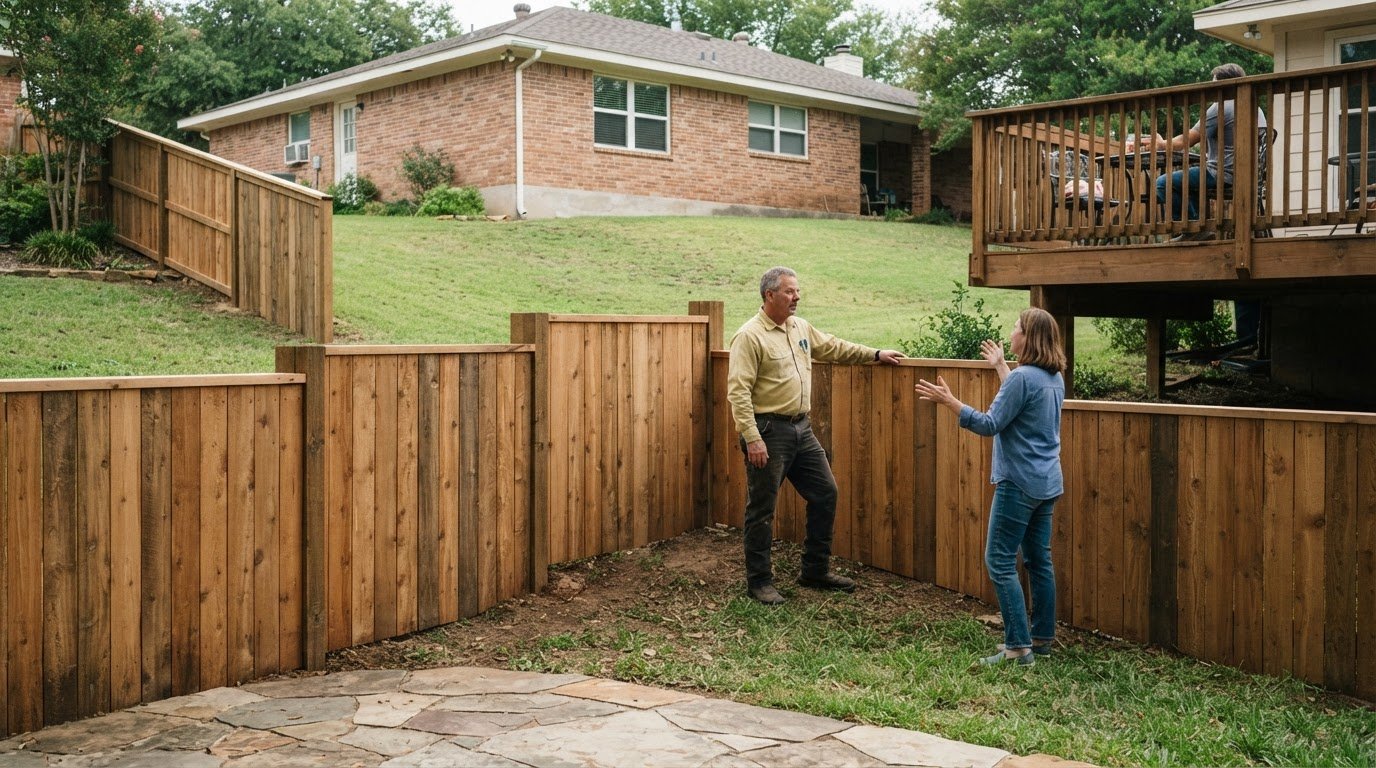
Clarify property boundaries and shared areas. Compare the layout with a property survey or other reliable boundary information before placing walls or paving near a fence. Identify easements, shared access, and common areas on the sketch. A design that crosses a boundary or changes access can create a dispute even when its materials and dimensions seem straightforward.
Submit a consistent plan. Make sure the drawing, dimensions, finished elevations, material descriptions, and drainage direction agree. If a reviewer requests revisions, update the same plan rather than circulating conflicting versions. Keep approval records and any conditions together so the installation follows the reviewed design.
Resolve approvals before work begins. Avoid ordering around an unreviewed layout or starting excavation while approval is pending. If the design changes, such as adding a retaining wall or shifting the patio, ask whether the revised scope needs another review. To move from a reviewed plan to a built outdoor space, discuss your hardscape project.
Some hardscape materials may need to be ordered weeks in advance. Confirm approvals and the final layout before placing an order.
The Martinez Company: Fence Installation
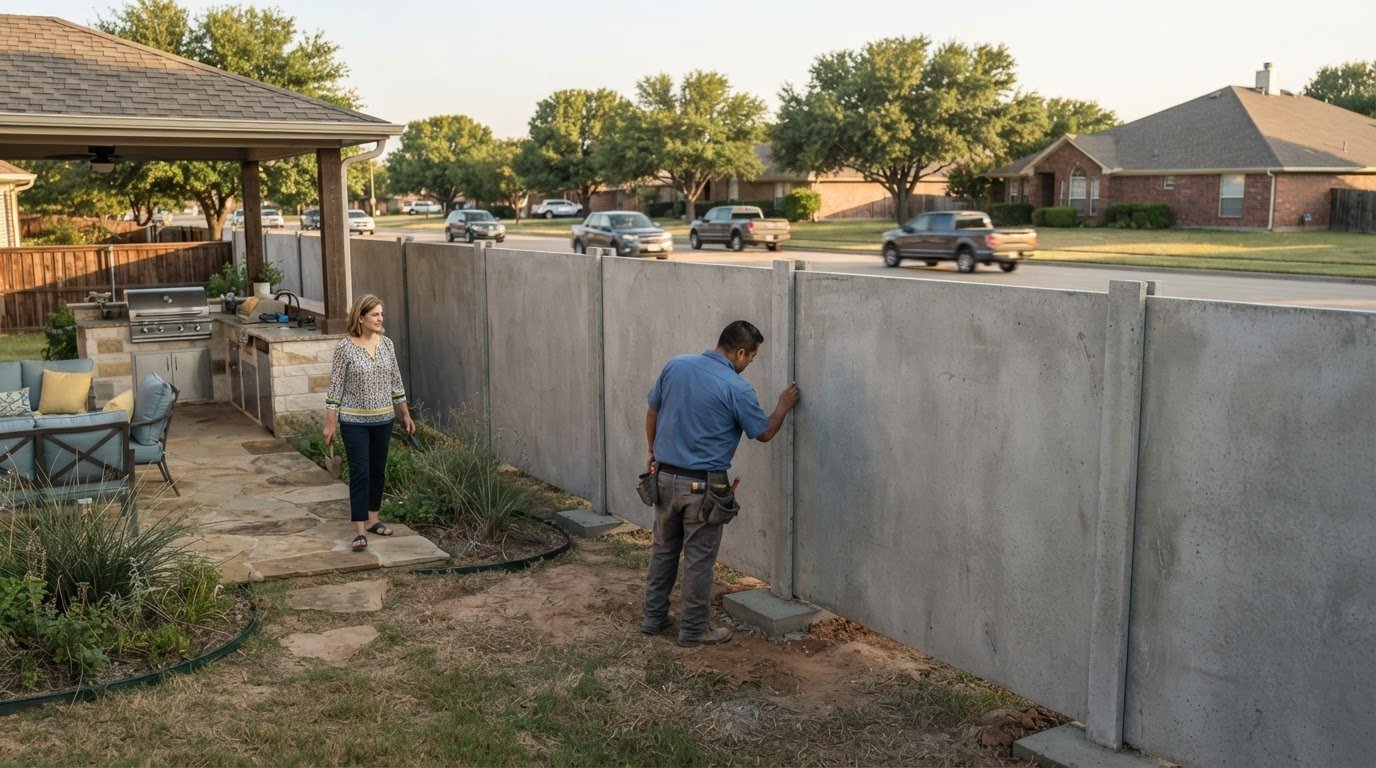
The Martinez Company can help turn your yard plan into a finished outdoor living space or a clearly defined property boundary. If your project includes both a patio and a fence, coordinate their placement, access points, and transitions so the features work together.
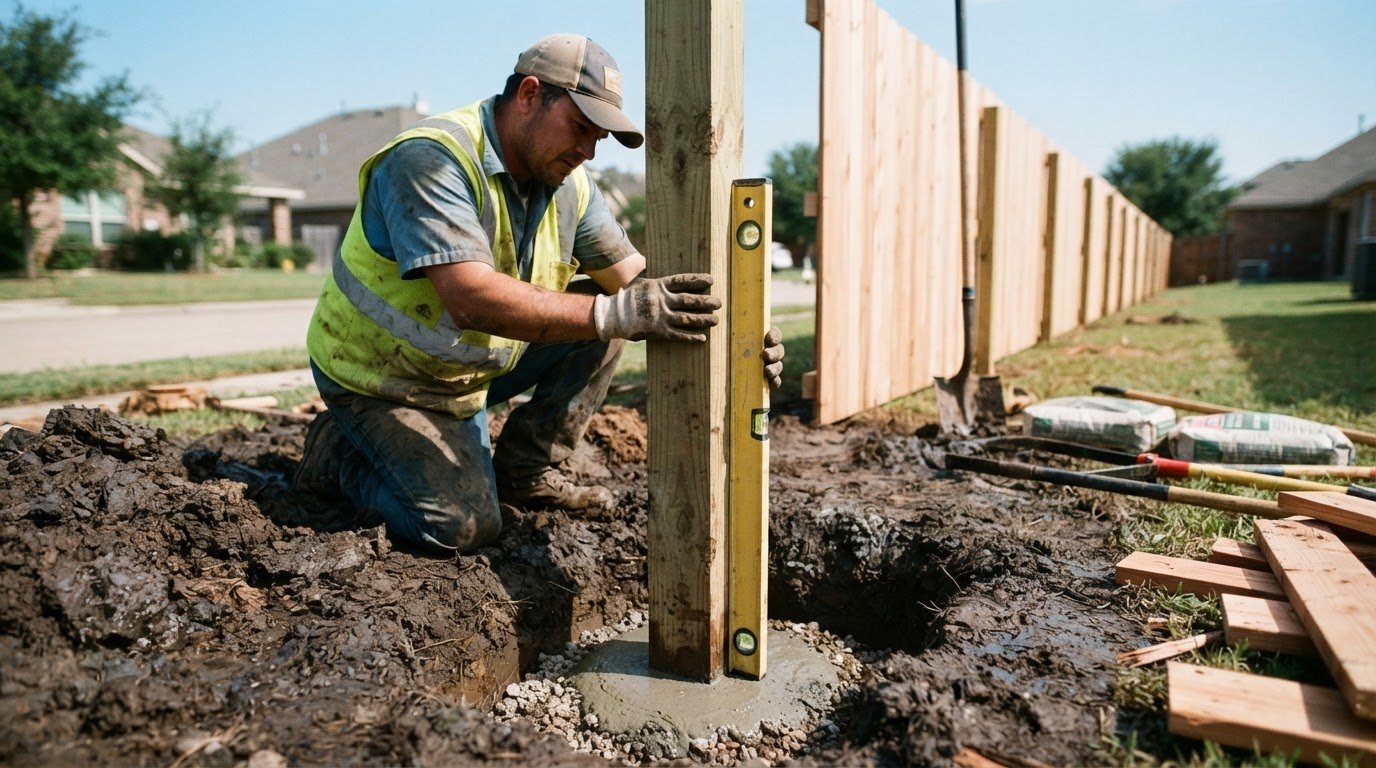
For residential and commercial projects, The Martinez Company provides Outdoor Living Spaces, Fence Installation, and contracting services. Fence installation can complement a hardscape plan that includes a defined yard perimeter or coordinated outdoor area. Align the fence with the planned patio or walkway before work begins, so the boundary supports the overall layout.
Contact The Martinez Company to discuss your outdoor project and fence installation plans.
Turn Your Yard Plan Into a Buildable Project
A hardscape plan is easier to put into action when it reflects how you’ll use the finished space. Consider how people will move through the yard, where you want to gather, and how a fence or other boundary should fit the design. These priorities guide decisions beyond material quantities and help make the outdoor area feel connected and purposeful.
Preparing your yard for hardscape installation lays the groundwork for a lasting addition to your property. When you’re ready to move from measurements and material estimates to a coordinated project, The Martinez Company can discuss your plans and next steps for your outdoor space.
Contact The Martinez Company today to start planning a space built around your goals.
Frequently Asked Questions
Why is foundation stability important for hardscape steps?
A stable foundation helps steps stay aligned and support regular foot traffic. If the ground shifts or settles unevenly, treads can tilt, joints can open, and water may collect where people step. For example, a step beside a walkway needs consistent support where the surfaces meet. A firm, well-drained foundation helps maintain that transition and limit uneven movement.
What steps should homeowners take to prepare a yard for hardscape installation?
Start with a complete site plan, then coordinate utility marking, approvals, material staging, and the work sequence before excavation. Keep access routes clear for people and deliveries, and identify nearby plants or irrigation components. Save a copy of the approved layout and mark key reference points where they’ll remain visible. These preparations help keep the installation work organized.
Comments